1. HMW reduce the friction and overall time required setup a sound and speed check for broadcast.
2. Eliminate navigation outside Spalk for doing speed checks.
3. Give full audio controls to commentators
4. Store data for review
Timeframe
6 Weeks
Summary
Company: Spalk
Team: Product Manager, CTO, Engineering Team
Outcome: We redesigned the one step audio recorder into an interactive sound check tool with full audio adjustment tools for commentators. Integrated speed check with in our system with no navigation or zero clicks. It happens in the background.
"Love the audio playback and adjustments"
"I don't have to use external speed checks and share the result via Whatsapp. Saves so much time"
- Spalk Commentators
1.
Tools + Techniques
User Research
Information Architecture
Understand User-journey
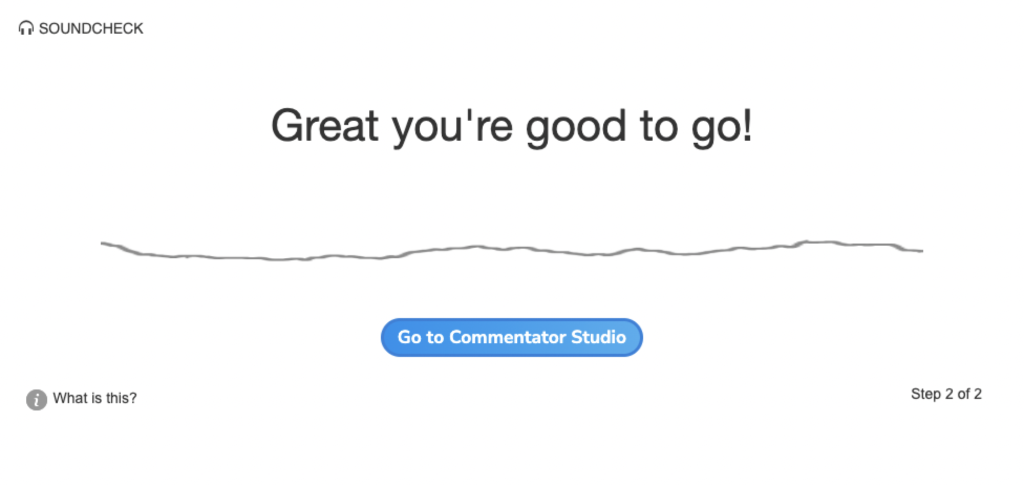
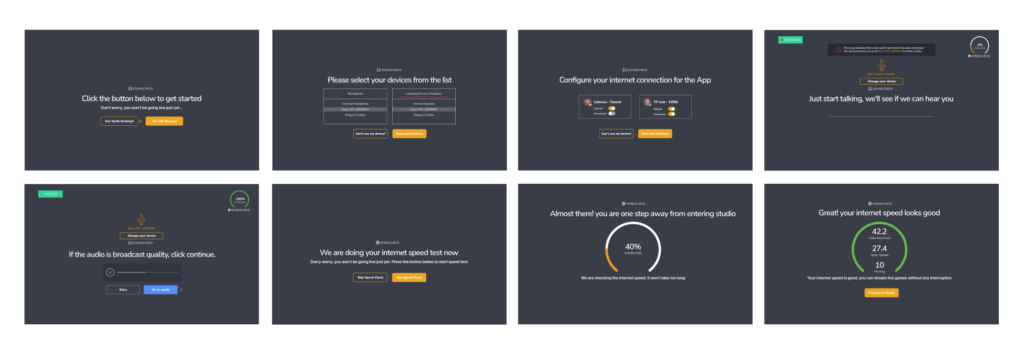
The basic soundcheck can only detect audio waves and let commentators to enter the studio. The audio quality can only be heard during the live broadcast. This was a big issue to solve. Commentators were asked to use external speed test website to check their connection before any broadcasts.
Solving these two issues inside the platform was very important.
We had to redesign the soundcheck entirely, gave it a new look along with an internet speed check at the background. This not only reduced pre-check in time for commentator but also allowed Spalk live technicians to check the audio quality before going live.
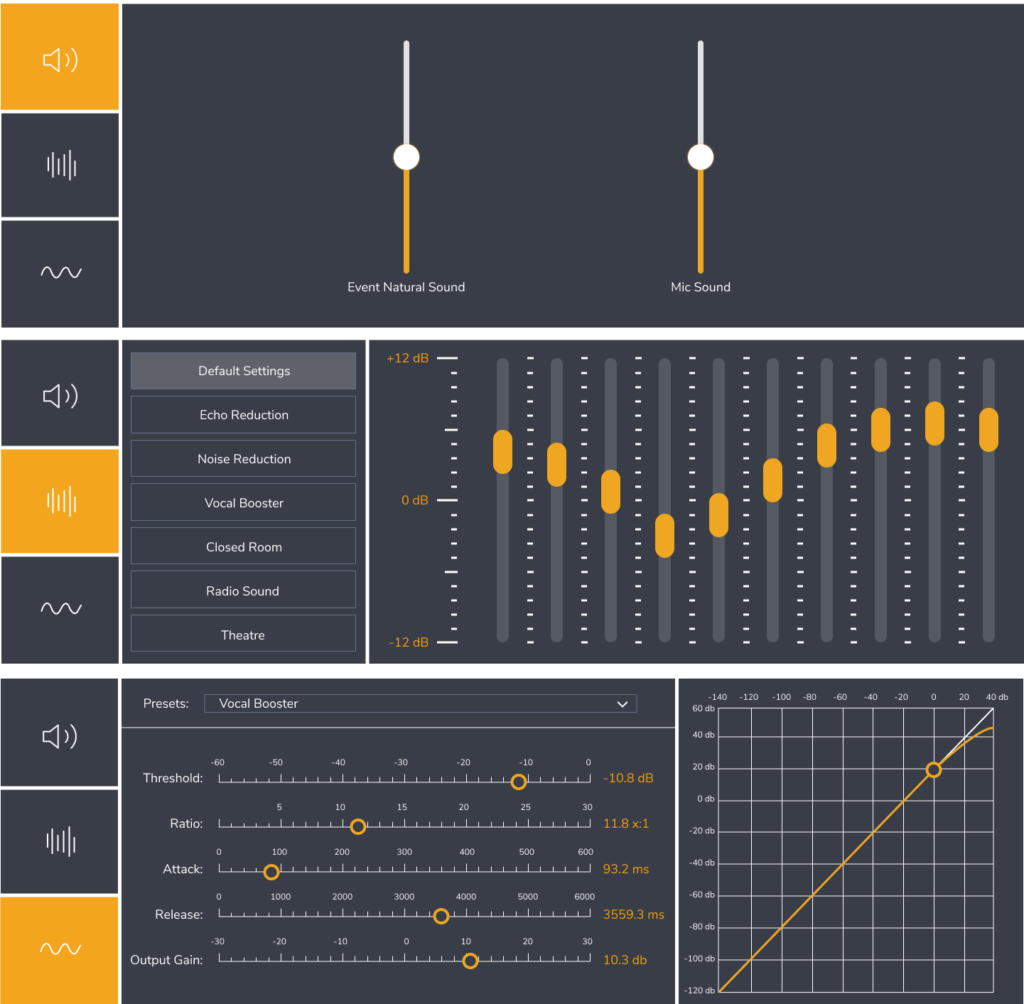
We also included some other features such as audio device selection and a full audio EQ controls for the commentators.
Survey
10 questions
17 respondents
Interview
Interview with Commentators
1-on-1 with Broadcasters
2.
Tools + Techniques
Wireframing
Prototyping
Testing
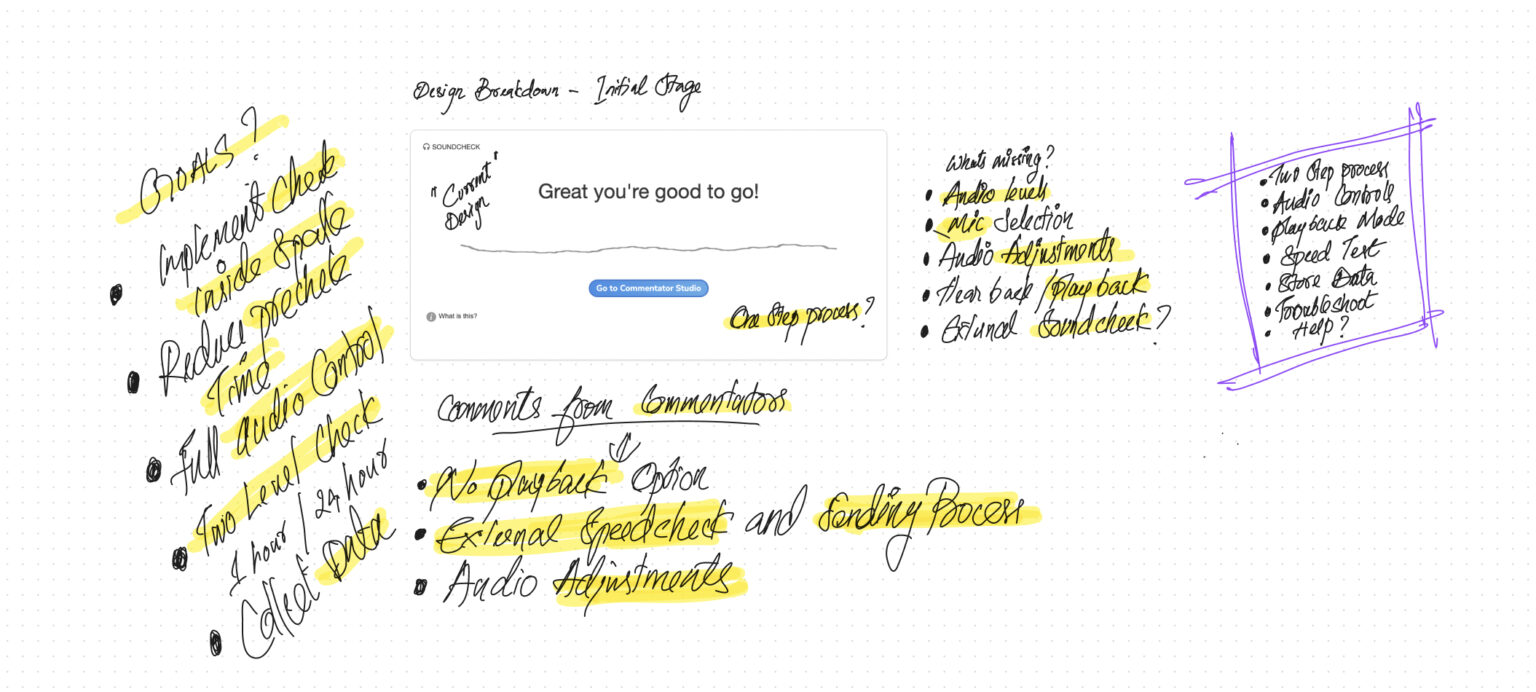
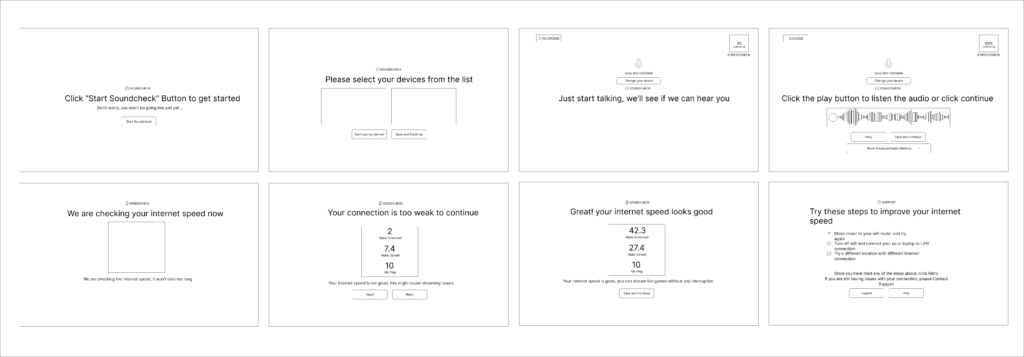
Wireframes allow us to focus on the user experience and how users will interact with the interface. This helps to identify potential problems and allows for changes to be made before the development process begins. We played around with all the different solution opportunities.
The purpose of this is to help save time and resources, improve collaboration, and ensure that the final product meets the client's requirements and user expectations.
3.
Tools + Techniques
Inclusive design
Visual design
QA of build
It is important to create a visually appealing and engaging experience for the user
Success Metrics
• 75% pain-points solved - with this design we were able to solve most of the user pain-points.
Usability testing results sits above 90%
• New interactive design with all functionality build into the system including a speed check
Feedback
"Now I can change my audio levels and EQ"
"Playback is a really cool feature. I can hear how I sound like before going live "
Learnings
User research is important: Understanding the needs, goals, and pain points of your target audience is crucial to create a successful UI/UX design. Conducting user research through surveys, interviews, and testing can help you make informed decisions.